
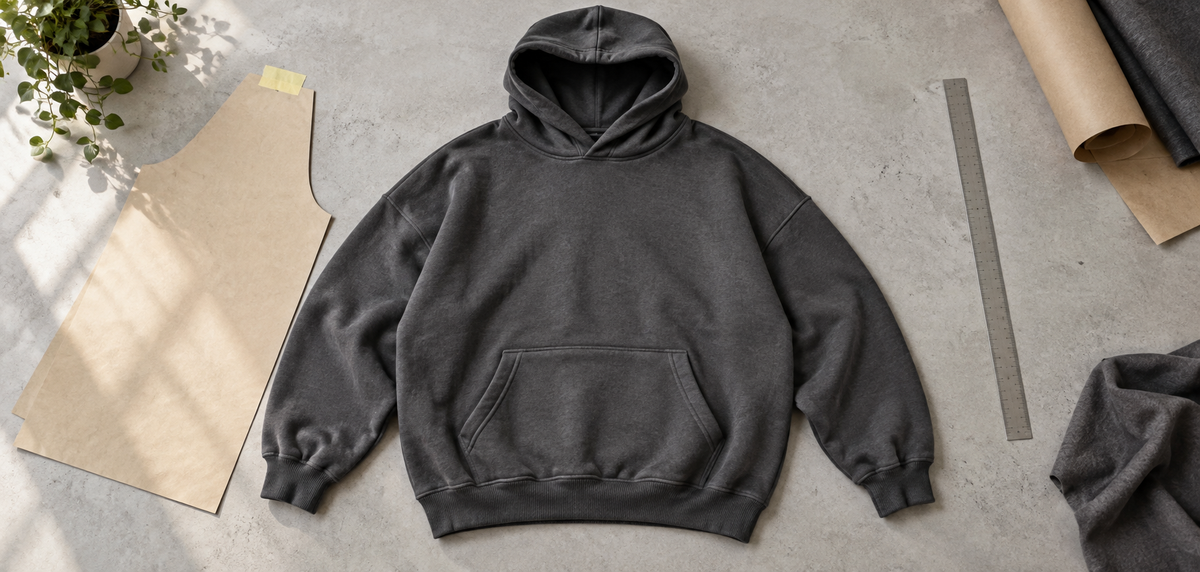
An oversized hoodie can have a generous chest and still restrict movement, pull at the neck or cover the hands unintentionally. For a clothing brand, the development brief needs to explain where the extra volume belongs and how the finished garment should sit on the intended wearer.
Develop an oversized hoodie fit by specifying body width and length, shoulder position, sleeve reach, hood shape, pocket placement and rib behavior together. Define the intended wearer and layering, document measurement methods, and review the assembled physical sample in movement. Then check the selected graded sizes before confirming the production specification.
1. Separate oversized, boxy and drop shoulder
These terms describe different decisions. Use them as a starting vocabulary, then show the factory what they mean for your design:
- Oversized: deliberate additional room relative to the intended wearer and fit reference. State where that room belongs.
- Boxy: a broad body with a relatively compact length. Define its width, length and hem position rather than relying on the label alone.
- Drop shoulder: a shoulder seam positioned beyond the wearer's natural shoulder point. It describes seam placement, not the complete fit.
A hoodie can combine all three, but none automatically determines the others. Send front, side and back references, identify the intended underlayer, and specify a base size and fit model or body reference. For material options, use our heavyweight hoodie fabric guide; this guide focuses on pattern and sample decisions.
2. Review chest width and body length together
A wider body does not explain whether the hoodie should hang straight, gather above the waistband or finish at a cropped position. Mark the intended hem position on the wearer and record the length measurement's start and finish, including whether the rib band is included.
Define where the half-chest measurement is taken and whether the garment is measured flat and relaxed. Do not confuse a flat garment width with the wearer's chest circumference. Check front and back balance while standing and seated, then reach forward and raise the arms. Record unwanted movement or restriction before deciding which pattern area needs revision.
3. Connect shoulder width to sleeve reach
When the shoulder seam moves outward, the sleeve starts farther down the arm. Keeping a familiar sleeve-length number without reviewing the shoulder can therefore produce a different cuff position. Record shoulder width, sleeve length, upper-arm width and cuff height as connected measurements.
For a sleeve measured from the shoulder seam, show that starting point and the route to the finished cuff edge. If the team also uses a neck or center-back-to-cuff measurement, diagram it separately. Do not compare these numbers as if they use the same method. Put both the diagram and the garment's measurement condition in the current clothing tech pack.
During fitting, check where the cuff rests with the arms down and during forward reach. Review underarm restriction and sleeve volume as well as length; a broad chest alone does not confirm comfortable movement.
4. Fit the hood and neck opening on the garment
Do not enlarge the hood automatically because the body is oversized. Define its height, depth, opening and attachment points using diagrams, then review the intended shape with the hood down and worn up. Include the planned hood lining in that review.
For a pullover, check putting the sample on and taking it off. With the hood up, assess coverage, head turning, comfort around the face and any pull at the neckline. With it down, inspect how it rests and whether the front or back neck shifts. Record the observation and ask the patternmaker to assess the hood, opening and attachment together.
5. Place pockets and rib within the silhouette
Measure a kangaroo pocket from named reference points, such as center front and the hem joining seam. Specify pocket width, height, opening and placement separately. Check hand access while standing and seated, and review its relationship to the hem and artwork. A lower pocket is not automatically appropriate for a wider body.
CottonWorks describes how rib knits stretch across their width and how stretch yarn can assist recovery. For your hoodie, specify the actual rib reference and finished band dimensions, then assess its behavior in the assembled sample.
Agree whether the hem should hang relatively straight or draw inward. Inspect cuff entry, sleeve gathering and where the waistband settles after movement. Recheck the silhouette after the agreed washing and drying procedure; a satisfactory unwashed fitting does not establish the washed result.
6. Turn sample observations into clear revisions
Use one consolidated comment sheet with dated photographs, measured results and the current specification revision. The examples below show how to request a review; they are not results from a customer project or fixed pattern corrections.
| Observation | Clearer review request | Check on the revised sample |
|---|---|---|
| Body looks too long | Mark the intended hem position; review body length and band gathering separately. | Standing and seated balance, with the intended underlayer. |
| Cuffs cover the hands | Keep the approved chest direction; review shoulder placement, sleeve reach and cuff hold together. | Cuff position at rest and during forward reach. |
| Hood pulls at the neck | Photograph the pull with the hood up; review hood shape and neckline attachment. | Head turning, face opening and neckline position. |
| Pocket is awkward to reach | Mark the access problem; propose revised opening and placement measurements. | Hand access, pocket balance and clearance from the hem. |
After agreeing a revision, update the affected measurements and diagrams. Identify which details remain approved so that a sleeve correction does not accidentally become a request to change the whole silhouette.
7. Check the shape across the size range
A successful base-size fitting does not confirm the full range. Agree which sizes need physical review and use size-set samples to check the graded proportions. Review shoulder position, sleeve reach, hood access, pocket placement and hem behavior in those sizes, rather than checking only chest width.
Record tolerances for the relevant measurements and resolve outstanding fit changes before pre-production sample approval. Keep the approved physical reference with the specification and written decisions. Production checks and final inspection remain necessary.
Prepare your hoodie development brief
For custom hoodie development with Lesstell, send fit references, a measurement diagram, material direction, artwork and quantities by color and size. Identify what should stay and what should change. MOQ starts from 50 pieces per style, subject to the project requirements; confirm sample fees and the production schedule in writing.
Frequently asked questions
Is an oversized hoodie the same as a boxy hoodie?
No. Oversized describes intended extra room; boxy describes the relationship between body width and length. Define both with references and measurements because either term can be interpreted differently.
How much wider should an oversized hoodie be?
There is no single increase for every brand. Establish the intended wearer, layering and silhouette, develop a base-size sample, and agree the dimensions from that review.
Does a drop shoulder need a longer sleeve?
Not automatically. Shoulder extension changes where the sleeve begins. Review shoulder width, sleeve length, cuff height and total reach together using clearly defined measurement routes.
Should the hood grow in proportion to the body?
Do not assume a fixed ratio. Review hood coverage, face opening, neckline comfort and the intended appearance on the assembled sample, with the hood both up and down.
How can a brand check a cropped, boxy fit across sizes?
Define body-length endpoints and hem behavior, then review the selected graded samples on the intended body references. Confirm shoulder, sleeve and pocket relationships alongside chest and length.
Is one approved hoodie sample enough for bulk production?
An approved sample provides a physical reference. It does not establish fit across every size or consistency throughout an order. Keep the current specification, agreed size reviews, written approval and production inspection plan together.